Blog
How to Spray Paint a Scooter at Home: From Dull to Dazzling
Do you want to add some dazzle to your scooter? Check out how to spray paint a scooter at home guide. With a little time and effort you can have a dazzling ride
Do you want to add some personality to your scooter? Check out this how to spray paint a scooter at home guide. With a little time and effort, you can have a dazzling ride.
Want to customize your scooter without going over budget? One excellent choice that lets you show off your style and inventiveness is spray painting. You can spin your scooter into a unique ride that stands out from the crowd with just a few simple tools and techniques. But before you start this enjoyable and satisfying endeavor, it’s crucial to comprehend the correct procedures and methods for attaining a tidy and polished result. I’ll walk you through the process of how to spray paint a scooter at home in this post, including the preparation, painting, and finishing processes.


Whether you’re an experienced do-it-yourself or a novice, our pointers and tricks will inspire you to channel your creative side and build a scooter that perfectly captures your unique style.
Spray painting it at home is both easy and inexpensive. And it can also help protect the metal frame from rust and other damage caused by the elements.
Let’s get started!
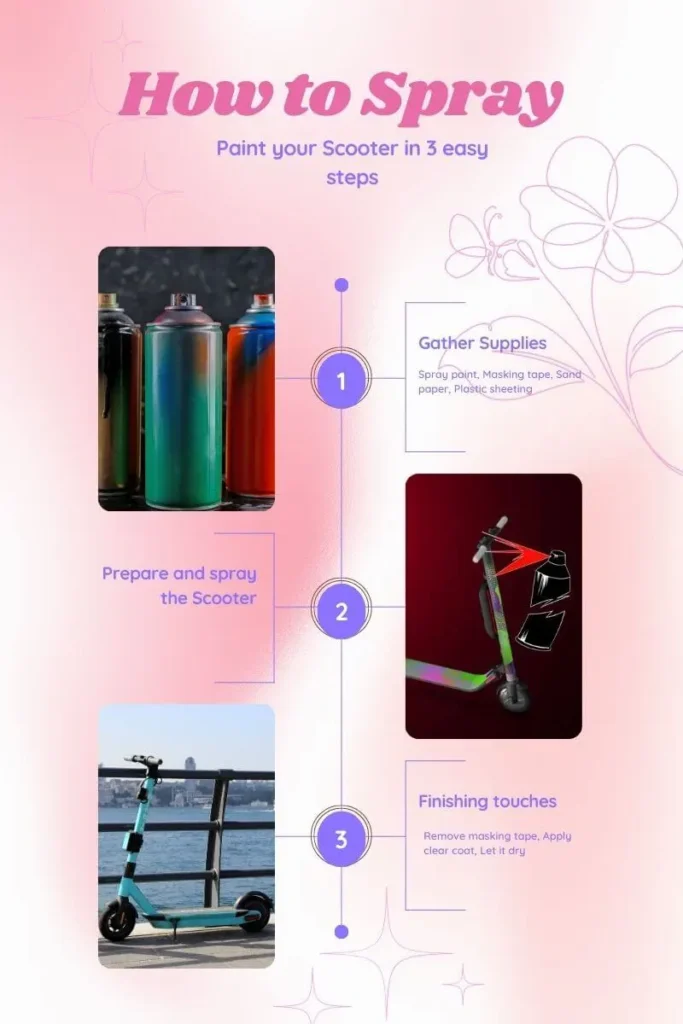
Gather Supplies
Spray painting your scooter can be fun and rewarding. So, gather the right supplies! Paint, primer, and safety gear are essential. Plus, there are steps to take before you paint. Here’s a closer look at what you need and the process for spray-painting your scooter. Get ready for a successful project!
- Paint–Choose a paint that is suitable for your scooter.
- Primer–Apply primer to the scooter before painting.
- Safety Gear–Wear protective clothing and a respirator when spray painting.
How to Spray Paint a Scooter at Home: Step By Step Guide
Follow my Step-by-step guide:

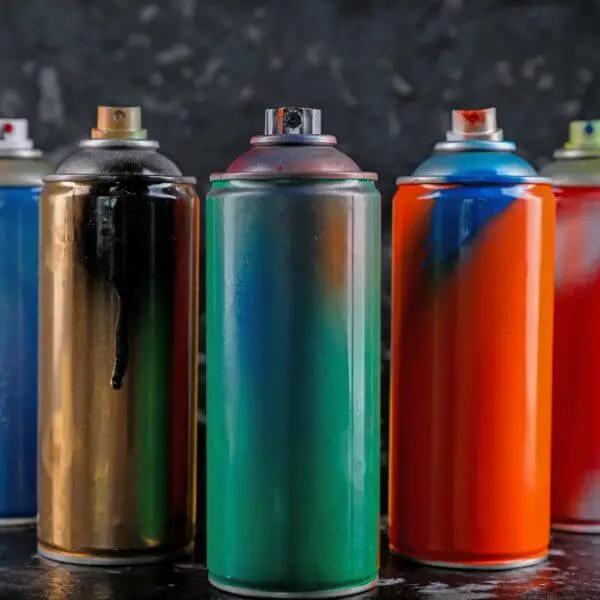
Purchase a spray paint
Before you start spray painting your scooter, you must have the right materials. Choose a quality product for the job. The type of paint depends on where you use it, how much coverage, and the finish you want. For example, exterior spray paint with a high-gloss finish is good for sun and rain. If the scooter frame is metal or plastic, use automotive-grade enamel spray paint.
Buy 4 – 6 ounces of paint. Also, get other accessories necessary, like a respirator mask, safety goggles, and protective gloves. Read safety precautions before handling dangerous products and substances. After you set all the supplies up in the work area, it’s time to begin the transformation!

Select a suitable location
Choosing the perfect spot for your spray paint project is key. Look for shade inside a garage or shed. If you’re spraying outdoors, pick a no-wind, no-sun day. Work on bare ground, not grass or concrete.
Make sure the surface you’re spraying is clean, dry, and debris-free. Assemble your supplies: primer, sandpaper, painter’s tape, rags, plastic sheeting, masking paper, and high-quality scooter spray paint.
Gather other supplies such as masking tape, protective clothing, etc.
Gather paints and read instructions on the can. Now, gather other supplies. These may include:
- Masking tape, to make crisp edges and keep paint off parts not wanted to be painted.
- Spray paint, (primer, color coat, and clear coat)
- Sandpaper, to scuff the surface
- Protective clothing, such as long pants/sleeves and closed-toe shoes for safety.
- Eyewear, even if you don’t think paint will get in your eyes.
- Dust mask/respirator, to avoid ingesting lead.
- Newspaper/plastic sheeting, to protect surfaces from over-spraying and drops from the brush. Cover areas with newspaper to avoid stains. Plastic sheeting is good for extensive areas, such as walls.
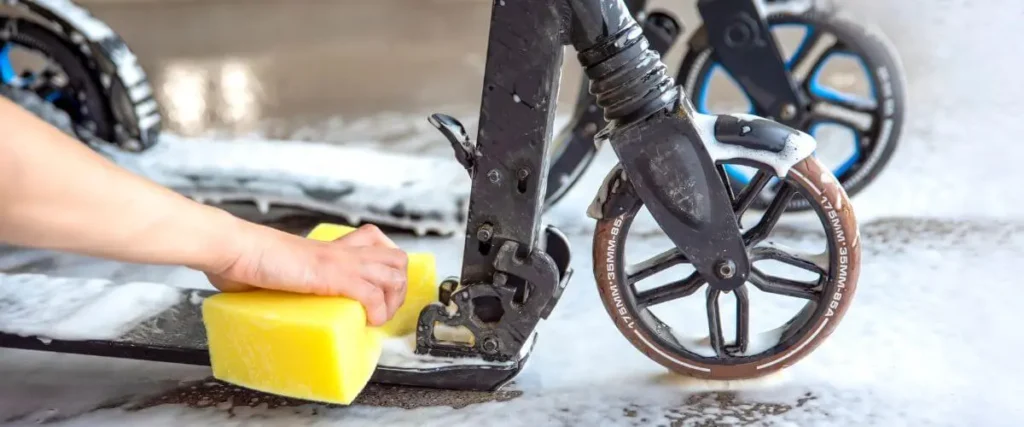
Prepare the Scooter
Ready to paint your scooter? Prep is key! Filth, dust, and oils will stop the paint from sticking. Start by wiping it down with a wet cloth and soap. Then, use sandpaper to lightly scuff the surface. Now you’re ready to spray!
Clean the scooter
Successful painting needs proper preparation. For this, you need to clean the scooter’s surface. Wipe it with a damp sponge or cloth and then dry it properly. Rust spots or hard-to-reach areas may need extra attention with metal brushes.
Once all dirt and grime are gone, you are ready to start prepping for painting.

Sand the scooter
Before you spray paint your scooter, it’s essential to have a good finish. This means the surface must be clean of any dirt and dust.
Use medium-grit sandpaper (100–220) to remove rust or particles. If you are priming, use lower-grit sandpaper (50–80) first. Sand the entire scooter with medium grit. Get a clean cloth to wipe away any dust. Now you’re ready to start spray painting!
Mask off areas you don’t want to paint
Mask off areas of the scooter that don’t need painting. Use wide paper tape and some old newspaper or rags. Cover the seat, handlebars, and safety decals. Press the edges of the tape for a secure hold.
When spraying paint, wear long-sleeved shirts and gloves. Make sure the surface of the scooter is clean and dry. Dust or moisture can create an uneven finish!
Apply Primer
Following cleaning, coat the scooter with primer. As a result, the paint will stick to the surface more effectively and produce a smooth finish. For the greatest results, adhere to the directions on the can.
Test the spray paint on a piece of cardboard
Before using spray paint on your scooter, it’s smart to test it out on cardboard or scrap wood. You can get a better feel for the coverage and color and learn techniques. Hold the can 8-12 inches from the surface and keep it moving in a back-and-forth motion.
For safe painting, you need good ventilation. Work in an open area with windows or doors that open. Put a fan in your space and point it away from you and towards any open windows.
Once you’ve tested a few strokes, you can start painting your scooter!
Apply the spray paint in thin, even coats
When spray painting a scooter, thin coats are best. It may take 3-6 thin coats of paint to get an even finish. Heavy coats can lead to an uneven texture. Hold the can 6″-8″ away while spraying and do a test run on scrap paper or cardboard first. Move the can in various directions while spraying to avoid drips or runs.
Allow the paint to dry between coats
Remember to apply thin layers with longer drying times. Allow each coat to dry for 30 minutes before coating again. Don’t overly saturate any area. After you have painted the scooter inside and out, let it sit for 24 hours before testing.

Hopefully, your scooter will look better than it did before!
Finishing Touches
Once you’re done painting your scooter, add some finishing touches.
Remove the masking tape
When the paint is done drying, it’s time to remove the masking tape. Go slow, so you don’t mess up your project! Peel the tape away in one smooth motion. If any paint bled and messed up your lines, use a razor blade or an X-Acto knife to scrape off the mistakes. Once all the tape is off, check your scooter for any spots that weren’t painted well. Touch up these places with paint if needed.
Apply a clear coat to the scooter
Once the paint is dry, apply a clear coat for extra protection and shine. Protect it from rust and debris with a top coat of sealant. Also, apply a few coats of clear sealant for extra protection. Then, your scooter will look shiny and gorgeous!
Let the scooter dry completely before use.
You must give the scooter time to dry after being sprayed with paint. This is to make sure it doesn’t get ruined when exposed to the elements.
It can take up to 24 hours for the scooter to dry. The temperature outside and how many layers of paint you used will affect this. You must keep away dust and debris from the scooter. A fan or light breeze may help the drying process.
Once it’s dry, you can use your new scooter!
Conclusion of How to Spray Paint a Scooter at Home
You may personalize and update the look of your scooter with a DIY spray painting project that you can complete at home. You may get professional-looking results by following the instructions provided in this article without having to invest a lot of money or time. To prevent drips or discoloration, be sure to pick suitable paint, prepare the surface properly, and apply the coats evenly. You can turn your outdated scooter into a chic and distinctive mode of transportation that expresses your style and preferences with a little time and imagination. Thus, why not give it a go and see what you can think of?