Blog
How to Make a Homemade Scooter Ramp in 5 Easy Steps
Even while scooters are a great way to keep active and have fun, adding a ramp may make them much more thrilling.
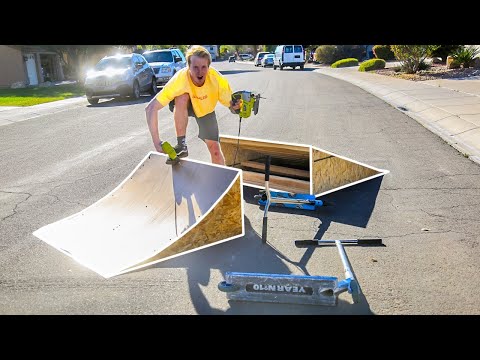
Check out this step-by-step guide on how to make a homemade scooter ramp out of materials you probably already have around the house!
Even while scooters are a great way to keep active and have fun, adding a ramp may make them much more thrilling. A premade ramp can be expensive to purchase, and some might not be the proper size for your scooter. This handmade scooter ramp-building tutorial was created as a result. You can build a ramp that works perfectly for your scooter and your budget with just a few basic components. So I’ll teach you how to make a homemade scooter ramp in this article.


Introduction
A sloping platform known as a scooter ramp enables riders to pull off tricks and stunts. Commercial ramps may not always match your needs and can be pricey. You may personalize a homemade ramp to your preferences while also saving money by building one. You can build a DIY scooter ramp that is secure, long-lasting, and enjoyable to ride on with some simple woodworking skills and the appropriate equipment.
Steps For How to Make a Homemade Scooter Ramp

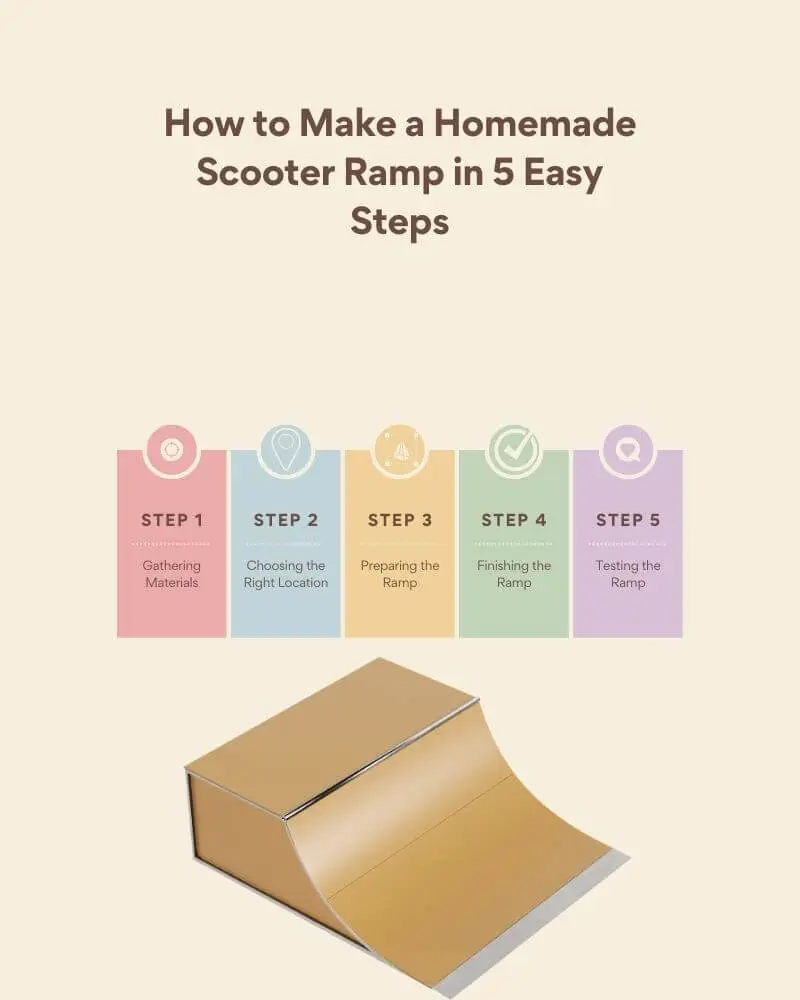
1. Gathering Materials
Making a homemade scooter ramp? You need the materials! Lumber, screws, and nails – these are the major tools you must gather. Before you begin, you must collect all supplies. In this section, we’ll tell you what supplies you need for a homemade scooter ramp.
Choose the right tools
- Lumber
- Nails
- Circular saw
- Electric drill
- Nine 3/4 inch long wood screws
- Level

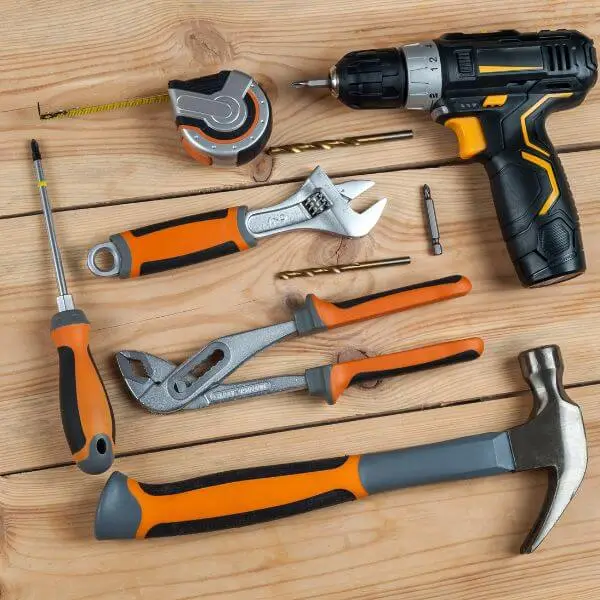
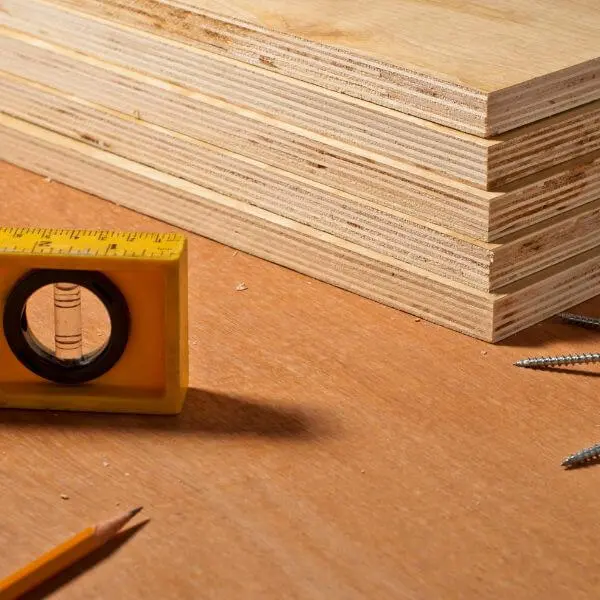
Choosing the right tools for your scooter ramp project is key. At least, a saw drill, and level. You’ll need studs and framing material that can handle your scooter’s weight. Pick materials of good quality and impressive looks! Plywood or MDO for the ramp surface is best. They absorb shocks better than others. Select treated wood or metals that elements won’t damage.
Think about which screws or nails you’ll need too. Nails are usually better for outdoor projects, as they won’t pull out or vibrate loose. Socket head screws with washers can add extra vibration resistance indoors. Check your fastener periodically for tightness during use. This helps your ramp last longer!
Gather the necessary materials
Gather the materials you need to make a scooter ramp. You can find these at most hardware stores. You will need:
- Three 4ft long 2x4s
- Two 8-inch long 1x2s
- A measuring tape
- One sheet of 3/8 inch thick plywood measuring 48 inches by 24 inches in size
- Some sandpaper
- Wood glue
- Grip tape
- Safety glasses
- Dust mask
If you need help constructing the ramp, there are tutorials online or at local hardware stores. When you have all the materials, you are ready to begin. Depending on your skill set, you might need an extra pair of hands.
2. Choosing the Right Location
You must pick the ideal spot before you begin to construct your ramp. The terrain should be level and devoid of any obstructions that can make cycling difficult. Ensure there is adequate room for you to move your scooter if you intend to use the ramp indoors. Make sure there is also enough ventilation and lighting.
3. Preparing the Ramp
Planning and prep are needed to craft a safe and efficient homemade scooter ramp. One has to be aware of the requirements and specs. This involves thinking about the scooter’s dimensions and weight, as well as the materials.
Here are the key steps to take when preparing the ramp:
- Measure the scooter’s dimensions and weight.
- Choose the materials and tools needed.
- Draw up a plan for the ramp.
- Gather the materials and tools.
- Start constructing the ramp.
- Test the ramp.
Designing the Ramp
The ramp design comes next. Either you can build a straightforward ramp with a single slope or a complicated ramp with several slopes and angles. On a piece of paper, draw out your design while accounting for the size of your scooter and your riding skills. Your preferences and the available space will determine the height and length of the ramp.
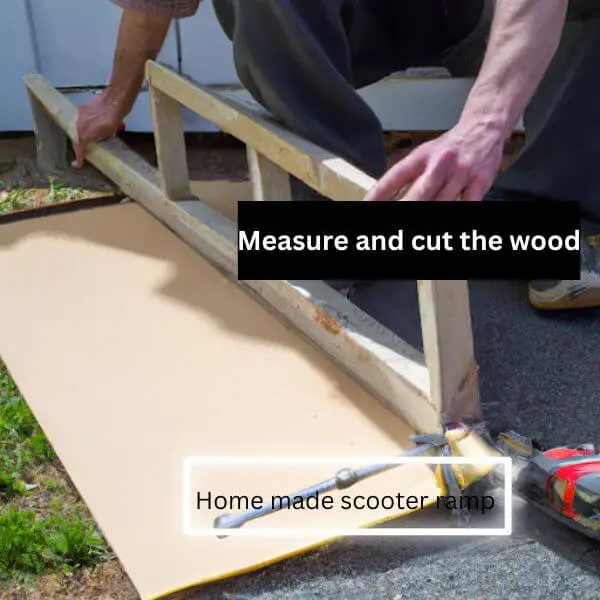
Measure and cut the wood
Time to start building! First, measure two pieces of wood with a tape measure. The size will depend on the ramp you’re making. Mark 1/2 inch increments with a pencil. Make sure each piece has one flat side for mounting.
Cut the marked lines with a saw. Sand off any rough edges or sawdust. This way, you won’t get splinters when you use the ramp.
Assemble the frame
You should make the frame of your scooter ramp from wood. This includes two stringers placed parallel to each other. Plus two extra pieces along the top and bottom edges for support. They should fit together snugly to make a solid base.
Dimensional lumber, such as 2x4s or 2x6s, is great for basic frames. You can also use angles or curves for a more complex design. But keep in mind that this will add weight.
Screws should be 2-3 inches long, to go through both pieces you’re connecting. Don’t forget to pre-drill pilot holes so your screws have a better grip.
Once the frame is done, try shaking it to make sure it’s stable. Then you can start building the rest of the scooter ramp body.
Attach the plywood
Before you attach the plywood to the 2x4s, plan out the wood. Measure it and cut it slightly bigger than its spot. This ensures that when it’s attached, there is room for any adjustments if needed.
Once cut, pre-drill holes about 6 inches apart on each side of the wood. Secure the plywood to the angled 2x4s with decking screws or 1¼ inch wood screws. Make sure the screws go through both pieces of lumber. Doing this on both sides will create a secure ramp. Then trim off any excess 2×4 material if needed.
4. Finishing the Ramp
Your homemade scooter ramp is almost ready! To finish it, follow these steps:
- Lay down the base.
- Add the ramp’s surface.
- Make sure it’s safe for use.
With these instructions, you can get the most out of your DIY ramp.
Sand and seal the ramp
Sand the ramp with medium-grit sandpaper. Wear a dust mask to avoid inhaling the particles. Sand in one direction to avoid brush strokes. Remove any paint or sealer left on the surface.
Use a clean, dry cloth to remove the dust created by sanding. Ensure the ramp is free of debris.
Apply a sealant made specifically for outdoor areas. Apply multiple thin coats of sealant and allow each layer to dry before applying the next.
- Wait for the sealant to fully cure between each coat. The stronger the bond, the better the protection.
- Once all the coats of sealant are applied, your scooter ramp is finished!
Apply grip tape
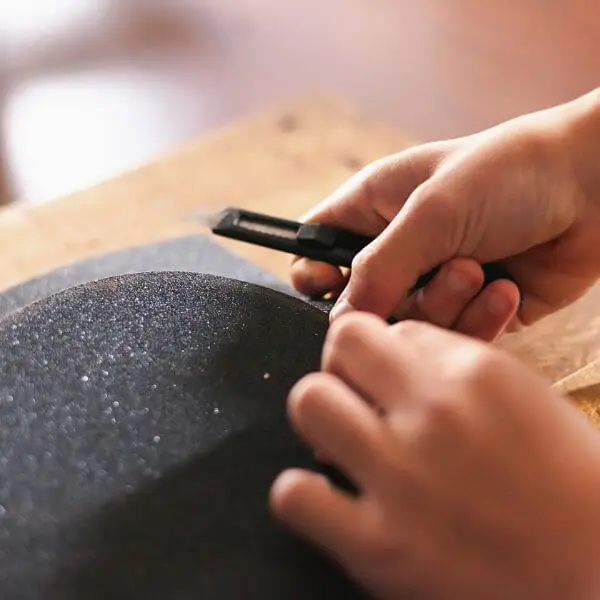
The next step after assembly is to apply grip tape. It’s also known as non-slip tape, skateboard grip tape, or adhesive cushion.
Consider the size and weight of your riders when deciding on the type and size of grip tape. Heavier riders need more aggressive grip tape. Smaller riders may use less aggressive but still adequate grip tape.
Before applying the grip tape, check that the ramp is stable. Put it on a flat surface and step on it. Check that the ramps are tightly secured with screws twice each session.
Grip tapes come in two forms- traditional sandpaper or bubblegum textured foam backing with a thin adhesive layer. The foam-backed adhesive has superior shock absorption and durability. Sandpaper varieties offer better friction, but are more prone to wear.
Add any desired decorations
Make your ramp look nice. Paint it, use wood stain, or add designs with stencils. Or, just leave it as-is. But make sure it’s safe. Hire a pro or use treated wood. When it’s ready to ride, add grip tape on the top. This will help prevent slips and injuries.
5. Testing the Ramp
Testing the homemade scooter ramp is a must! It helps to spot any flaws. Making improvements before attempting a trick is essential. Checking safety is also key. Let’s check out how to test the homemade scooter ramp properly.
- Ensure it can handle your weight and the pressure of your stunts.
- Make sure it’s safe to use.
Check the ramp for stability
Before attempting any tricks, check your ramp is safe and secure. Make sure the angle won’t cause toe-stubbing. Check the surface for sharp objects, bumps, or gouges. If needed, use two pieces of plywood to reinforce.
Check all four sides are firmly attached. Ensure screws are tight but not so tight they damage the wood or your tools. Also, make sure boards overlap to stay tightly fitted.
Finally, check the stability by pushing down on corners and joints. Look for signs of movement. Make sure your homemade scooter ramp structure is stable before you ride it!
Test the ramp with a scooter

Before you ride your ramp, give it a test with a scooter. After building it, fill any gaps with extra wood. Secure it firmly. Wear protective gear! Put the scooter on top and push it downwards. If it wobbles, don’t ride. Double-check for loose screws or nails. Make sure you have enough speed for the jump.
When you’re confident, take off down the ramp! Land correctly or you’ll slip or fall. Practice makes perfect!
Adjust the ramp as needed
Building a scooter ramp is fun for practicing tricks and jumps. To be safe, you must adjust the hinge. It should not be too tight or too loose. Here are tips to help:
- Inspect the hinge for damage and make sure all screws are tightened.
- Check the angle between the base plate and the wedge plate is 90°.
- Put a meter stick between them. Measure if there’s a gap on either side.
- Adjust one screw until both sides are even with no gap.
- Repeat this process with all hinges.
- Finally, walk across the ramp to check how stable it is.
Use these tips and go scooting with confidence!
Conclusion
Making your scooter ramp is a fun hobby that can keep you entertained for hours. This article has all the steps of how to make a homemade scooter ramp like gathering materials, putting the ramp together, strengthening the construction, and adding a non-slip surface. You can construct a strong and secure ramp for your scooter with a little work.